
I. AP-Type Cloud Teach Pendant System Installation and Usage Guide:
1. User Self-Installation of ABB Official RobotStudio V6.08 Software
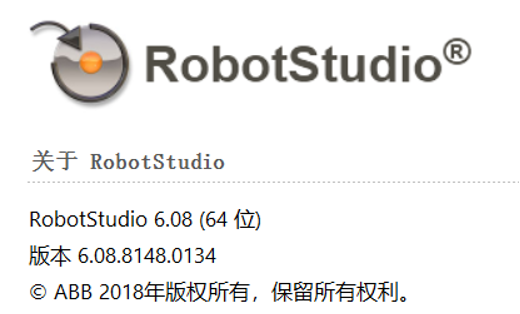
Upon completion, a RobotStudio software shortcut icon is created on the desktop 。
。
2. Install AP-Type Cloud Teach Pendant Client Software
When installing the PC client software, select "CPS Cloud Teach Pendant Client.exe" from the CD and run the executable to begin loading the PC client software.
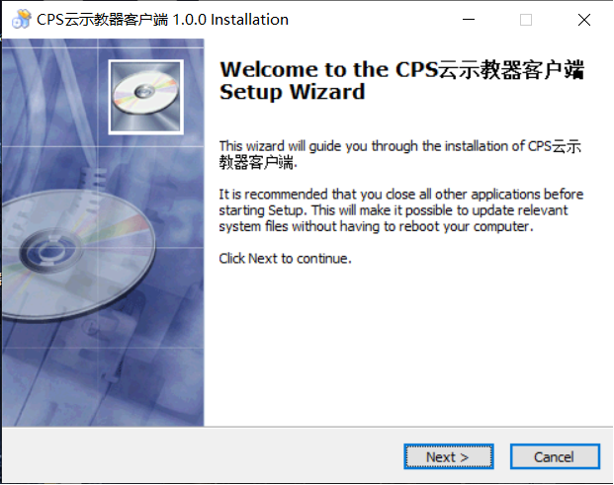
Click "Next" to install using the default path or select a new path. After installation, a "3DTAKERS" folder is created and a shortcut icon is generated on the desktop 。
。
3. Add Client Security Trust
After the PC client software is installed, if the PC operating system is based on Windows 10 or above, you also need to add client security trust on the Windows system. Open the Windows Control Panel Security Center (or search for "Windows Security Center" in the bottom-left corner), as shown below:
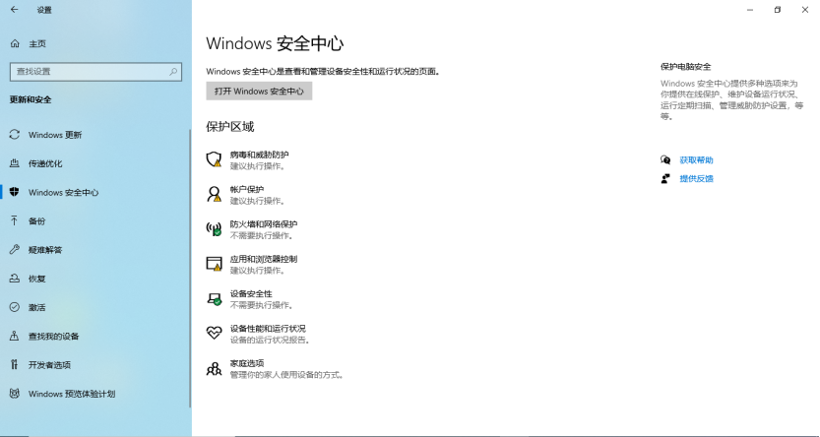
Click "Virus & threat protection" to open the following page:
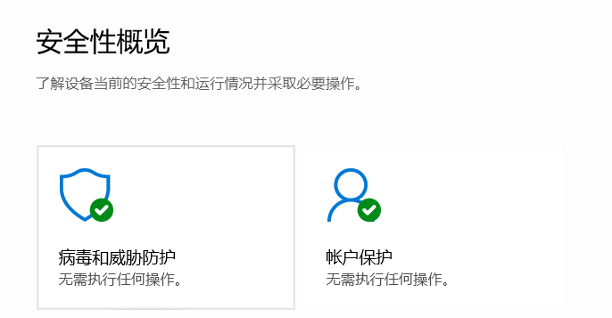
Select "Exclusions" under the "Manage settings" option in the "Virus & threat protection" dropdown menu, as shown below:
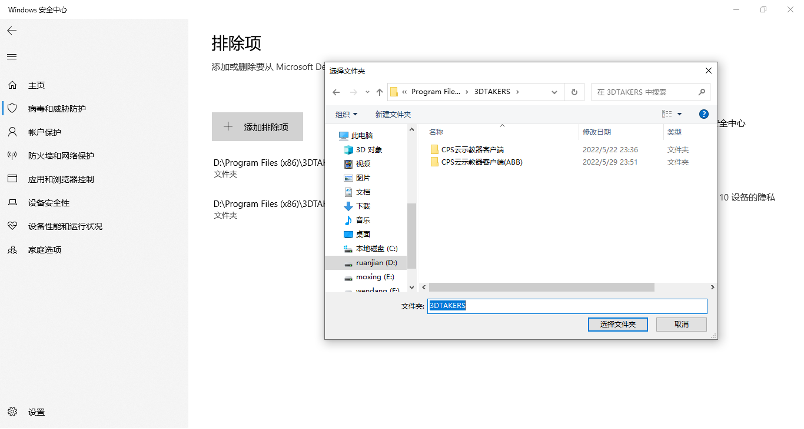
In the above interface, click "Add an exclusion", select "Folder" type, and choose the "3DTAKERS" folder under the AP client installation directory. The "3DTAKERS" folder will then be added under "Exclusions" in the Windows system, completing the client security trust setup.
4. Virtual Teaching Work Environment Initialization
Click to run the RobotStudio software icon , and the following interface will appear:
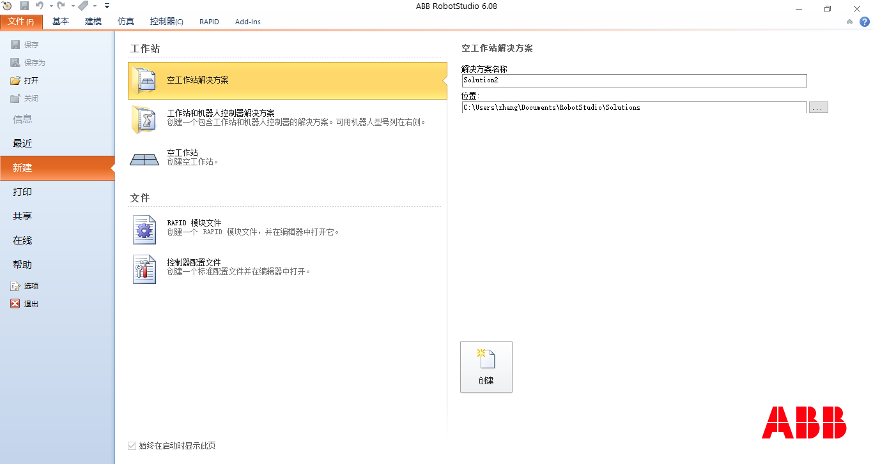
Click the "Open" option in the above interface to enter the following screen:
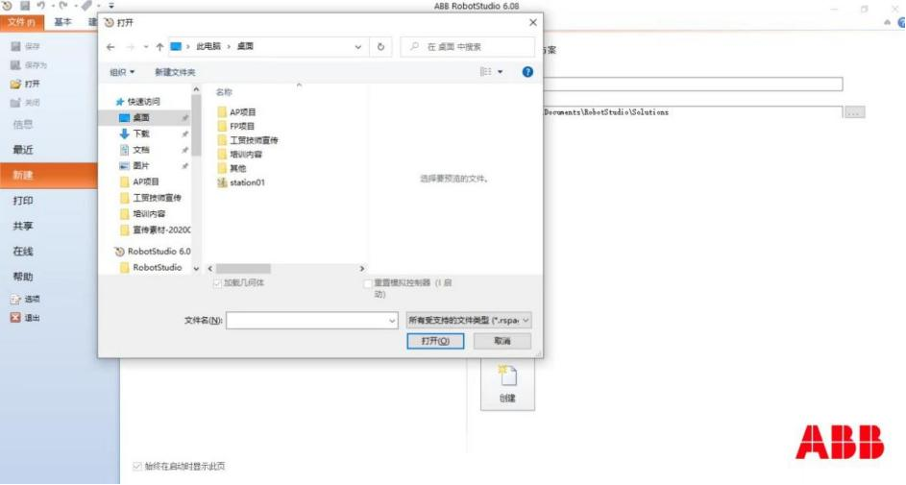
Select the virtual workstation file ap_station01 provided by the manufacturer from the CD and open it to enter the following interface:
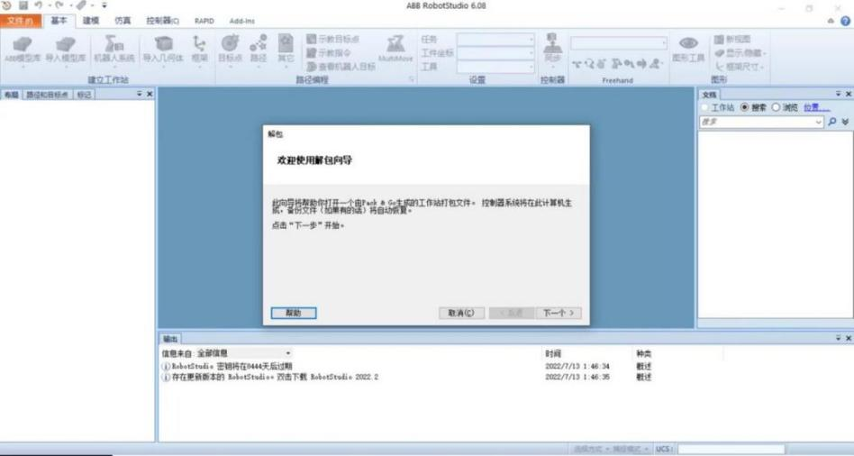
Click "Next" until the virtual workstation file is fully unpacked, and the following interface will appear:
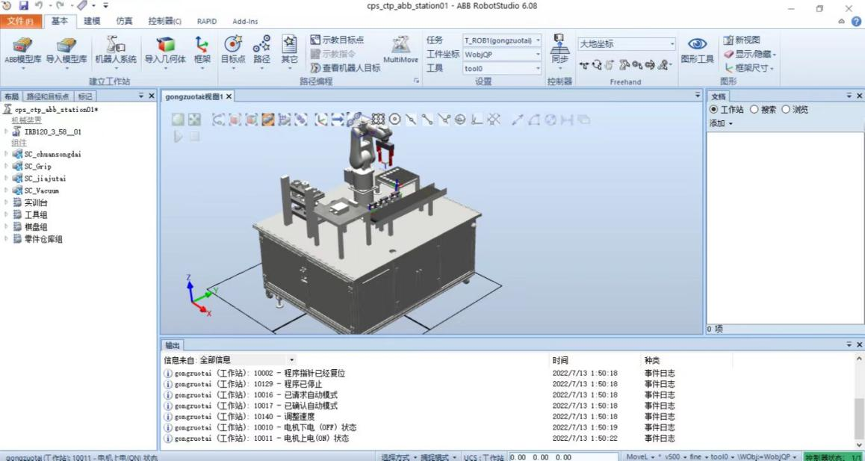
At this point, the virtual teaching work environment initialization is complete.
Special Instructions: When users need to create new virtual workstation scenes, follow these steps:
(1)Save the current virtual scene as a new filename, such as ap_station0X;;
(2)In the current PC RobotStudio software environment, import the component models for the new virtual scene to be created. These component models must be pre-created using 3D modeling software such as Solidworks before importing, or obtained from the RobotStudio library (provided the corresponding models are available). Then use RobotStudio software to complete the entire virtual scene creation process, including component layout, Smart component configuration, and I/O settings. Save the newly created virtual scene file as ap_station0X.
II. FP-Type Cloud Teach Pendant System Installation and Usage Guide
1. User Self-Installation of FANUC Official RoboGuide V9.0 Software
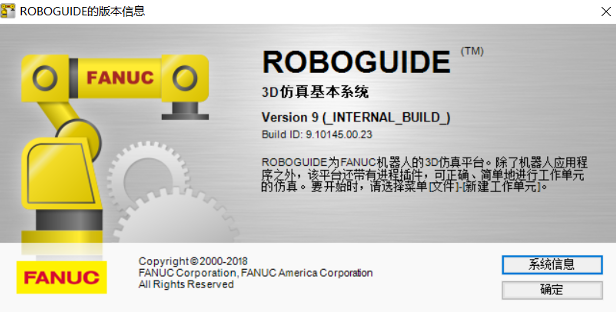
Upon completion, a RoboGuide software shortcut icon is created on the desktop  .
.
2. Install FP-Type Cloud Teach Pendant Client Software
When installing the PC client software, select "CPS Cloud Teach Pendant Client.exe" from the CD and run the executable to begin loading the PC client software.
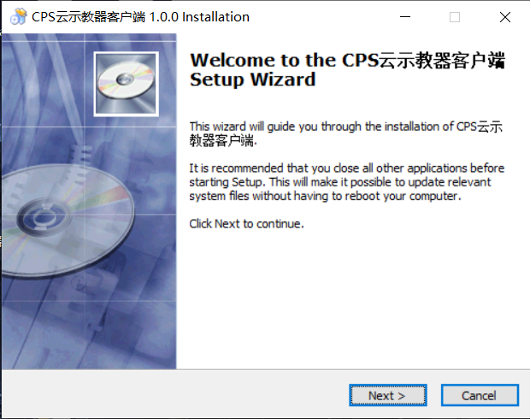
Click "Next" to install using the default path or select a new path. After installation, a "3DTAKERS" folder is created and a shortcut icon is generated on the desktop .
.
3. Add Client Security Trust
After the PC client software is installed, if the PC operating system is based on Windows 10 or above, you also need to add client security trust on the Windows system. Open the Windows Control Panel Security Center (or search for "Windows Security Center" in the bottom-left corner), as shown below:
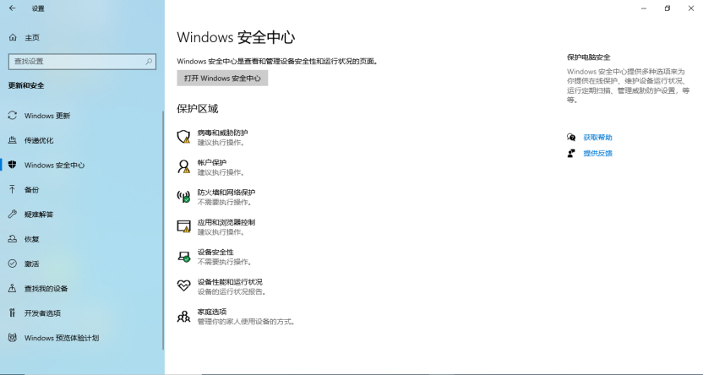
Click "Virus & threat protection" to open the following page:
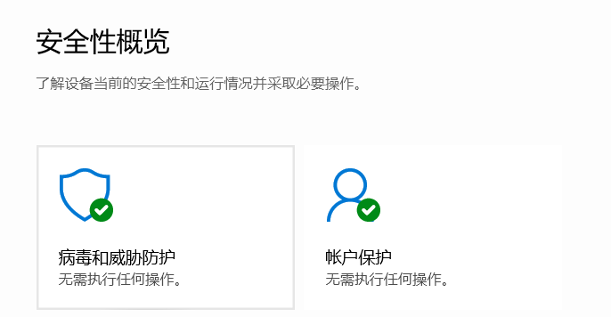
Select "Exclusions" under the "Manage settings" option in the "Virus & threat protection" dropdown menu, as shown below:
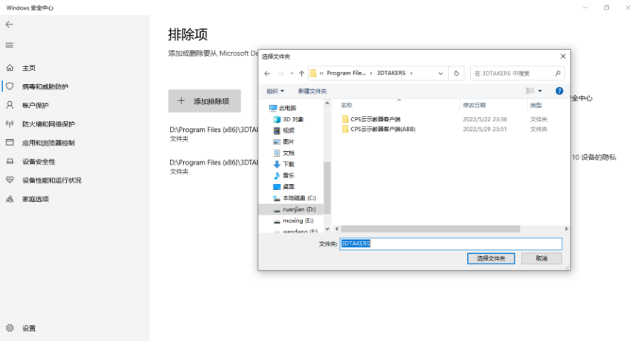
In the above interface, click "Add an exclusion", select "Folder" type, and choose the "3DTAKERS" folder under the FP client installation directory. The "3DTAKERS" folder will then be added under "Exclusions" in the Windows system, completing the client security trust setup.
4. Virtual Teaching Work Environment Initialization
For first-time use, click to open the RoboGuide software icon , click the "Tools" tab in the menu bar, and select "Options":

Adjust the "Screen refresh rate" to the maximum value, as shown below:
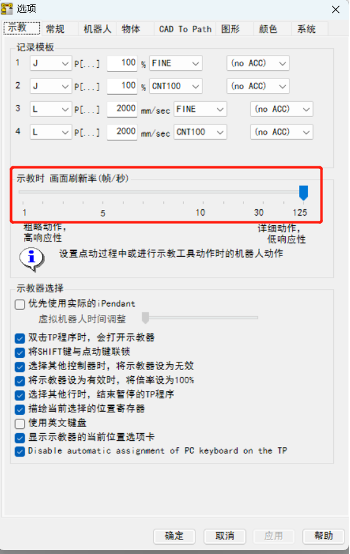
Click "OK" to return to the following interface:
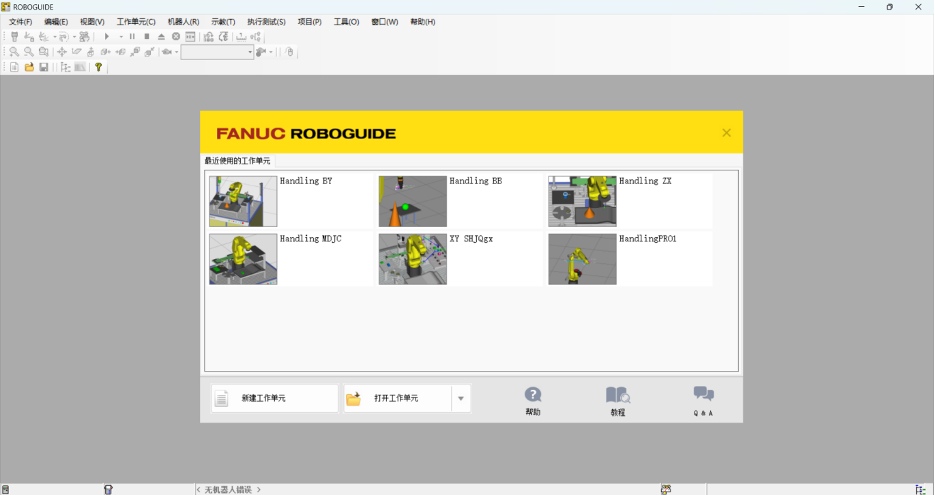
Click the "Open Workcell" option in the above interface to enter the following screen:
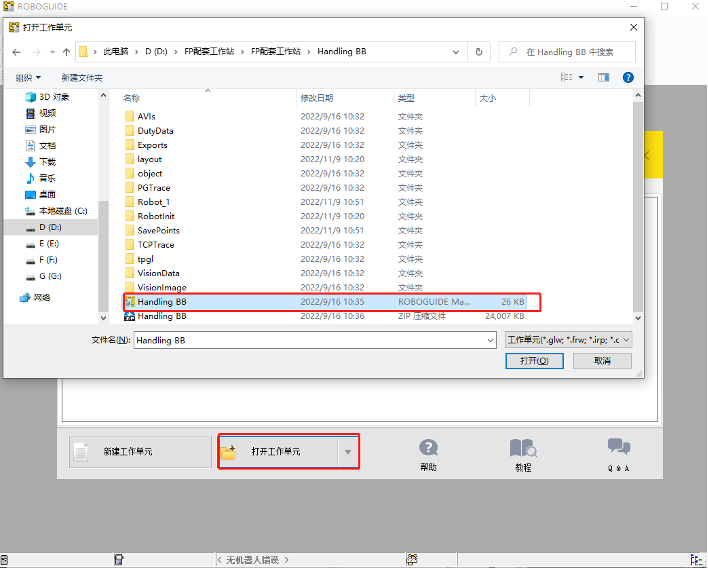
Select the virtual workstation file Handling BB provided by the manufacturer from the CD and open it to enter the following interface:
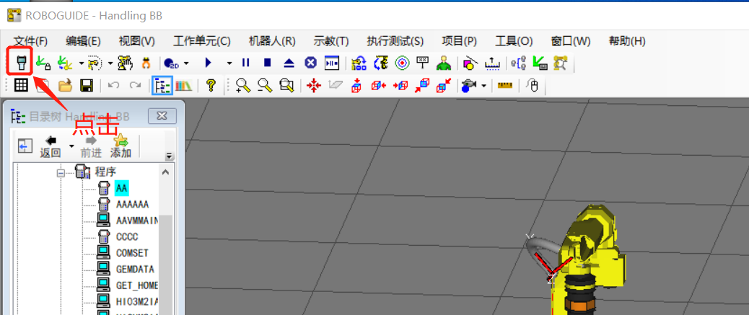
Click the virtual teach pendant button in the above image until the virtual teach pendant initialization is complete. After the following interface appears, click the close button in the upper-right corner of the virtual teach pendant to close the display page.
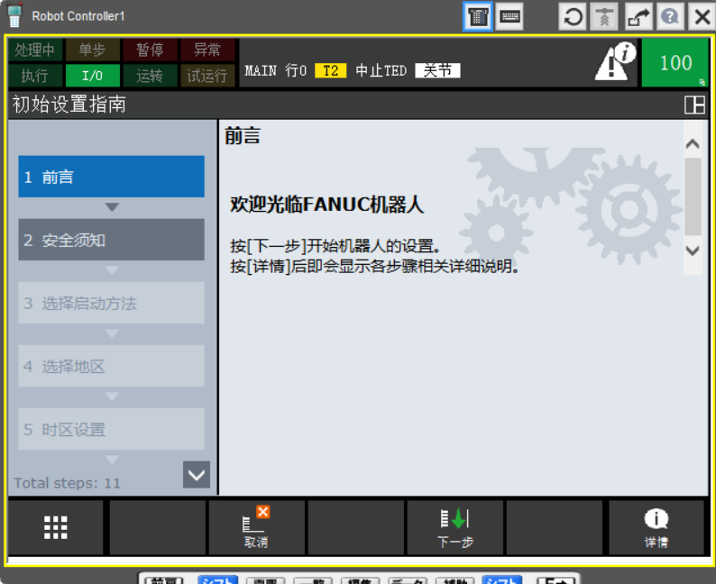
At this point, the virtual teaching work environment initialization is complete.
Copyright: © 3Dtakers (Xiamen) Electronic Technology Co., Ltd. 闽ICP备12018448号-3